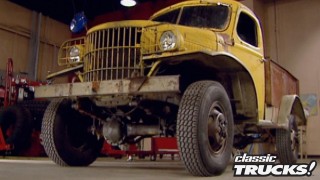
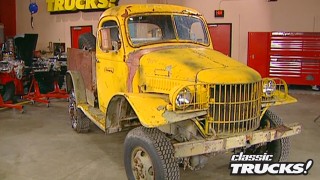
Sergeant Rock Gets Metal Work Done
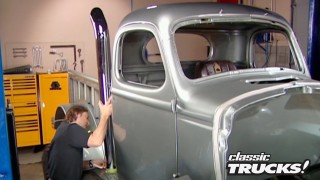
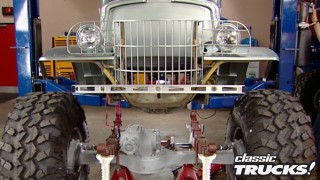
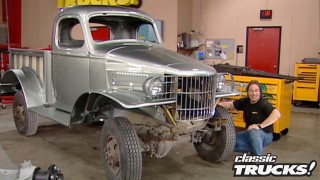
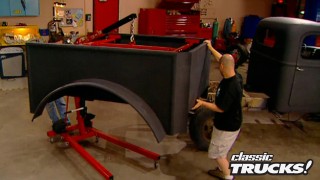
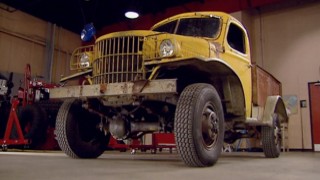
We delve into the art of restoring classic trucks like a '41 Dodge by tackling challenging metalwork and creating custom replacement panels.
Season 6
Episode 12
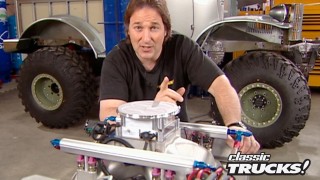
Hosts: Stacey David
First Air Date: June 1, 2015
Duration: 18 minutes 14 seconds