How To Restore The Rusty Parts of Your Classic Car Project
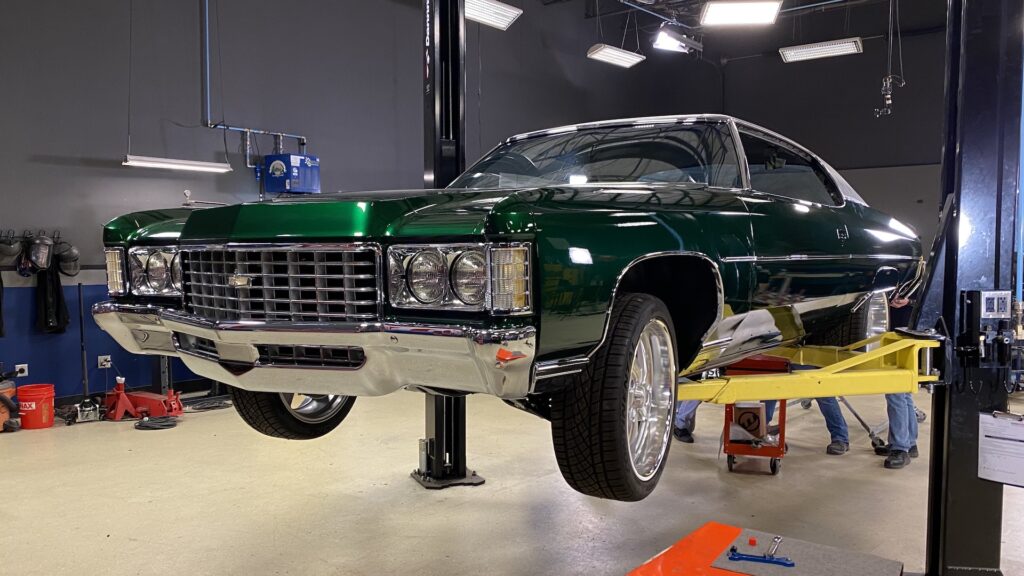
Having a classic car project can be both a blessing and a curse. On one hand, having a classic car is a huge deal considering they are some of the most desired cars to ever hit the road. But considering that parts for these cars can be a bit hard to find, you may find them to be quite time-consuming and expensive. For example, our ’71 Fat Stack Caprice had seen better days in the 1970s and 1980s. So we wanted to give this Big Body GM the TLC that it deserved in this day and age.
But on the other hand, depending on the car you get, it can require a lot of time and money to restore it back to its former glory, as well as modify it with some modern tech. However, if you are dealing with some parts experiencing rust, here is one way you can cut back both on stress and metal corrosion.
Getting The Rust Out
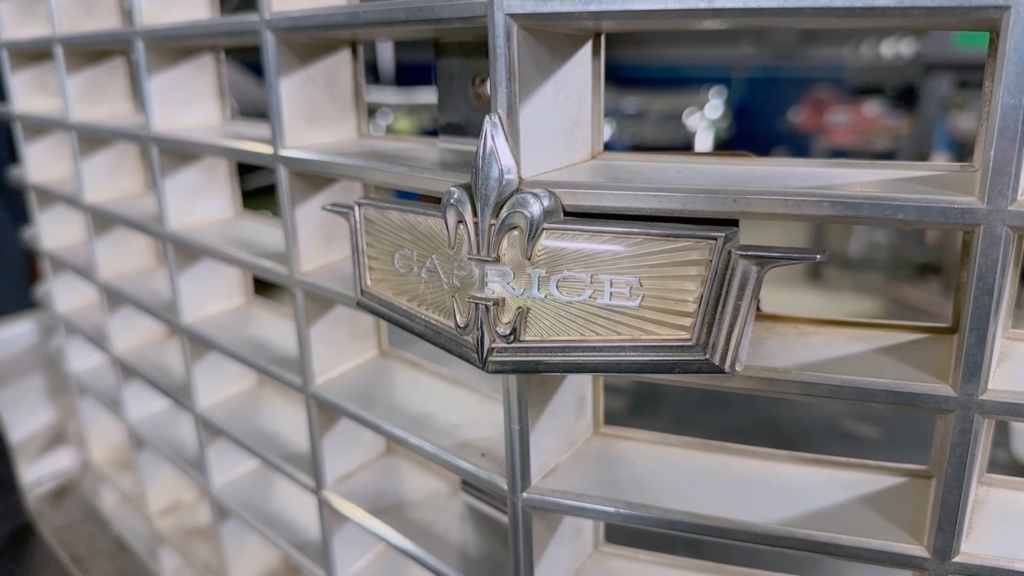
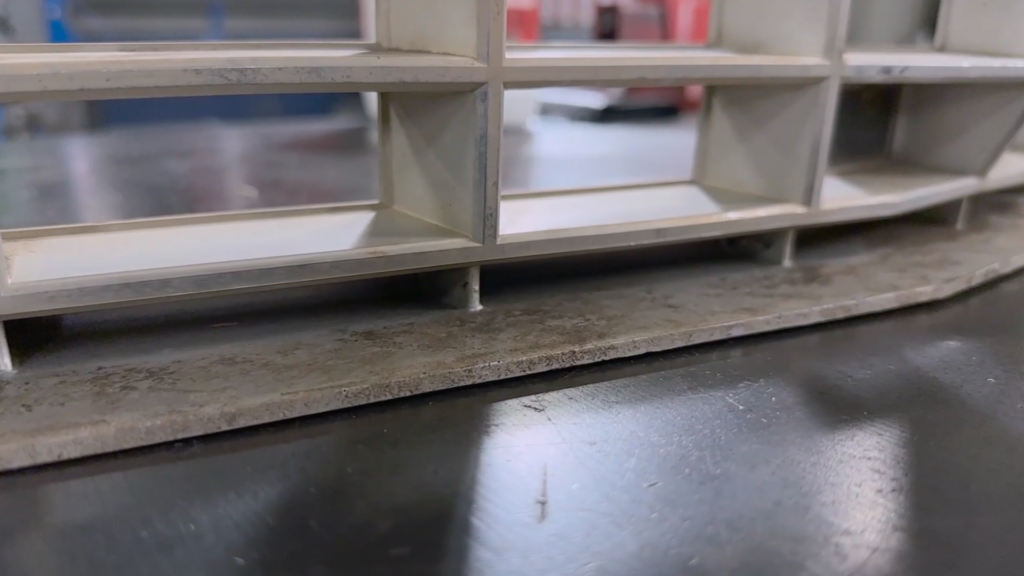
The grille on our Chevy Caprice had seen better days. But it is also the only style of grille made for this year’s model, making it a very in-demand piece. Enthusiasts would have to do some serious digging online, as well as a little bit of luck, in order to find one of these. Thankfully for us, despite being used, our grille is in nice shape. It just looks a little rough due to some corrosion and some “organic material” on the surface. This can be the case for any bare metal part of your project, and it shouldn’t be ignored.
For a classic car project, having corroded metal in plain view of everyone can make your pride and joy look like an eyesore. Using our grille as an example, the plan is to rejuvenate it back to its original state. But considering that it is over 50 years old, we have to be a little more careful. Because in the off-chance that this grille gets ruined, it’s gone for good.
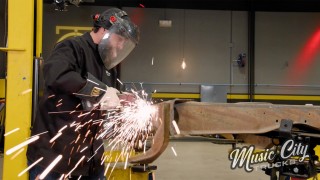
Work Smarter, Not Harder
Some would assume that all we would have to do is take some steel wool and some polish to it, and there, done. But the problem with that is, because often parts will be old and rare pieces that are essential to your project, you need to treat them using a very delicate process that requires a lot of patience. Because if you don’t, you might find yourself doing more harm than good.
Our plan to clean up our grille (which can work for any other part experiencing similar symptoms of corrosion) is to soak it in a bath of corrosion and rust-removing solution. We used a Liquid Rust Remover Bath from Metal Rescue as our solution. Submerge any rusty part in this liquid for a few hours, and the corrosion and crustiness on the metal will dissolve away. Then, we left our grille submerged for about 12 hours. It’s very important not to leave the metal in the solution for too long, because leaving it in for more than 24 hours can result in some irreversible damage.
Removing The Rust from Big and Small Parts
For smaller parts, a clear plastic bag should be more than enough. Just insert the rusted metal, pour in the solution, and let it sit for a few hours as that corrosion dissolves away.
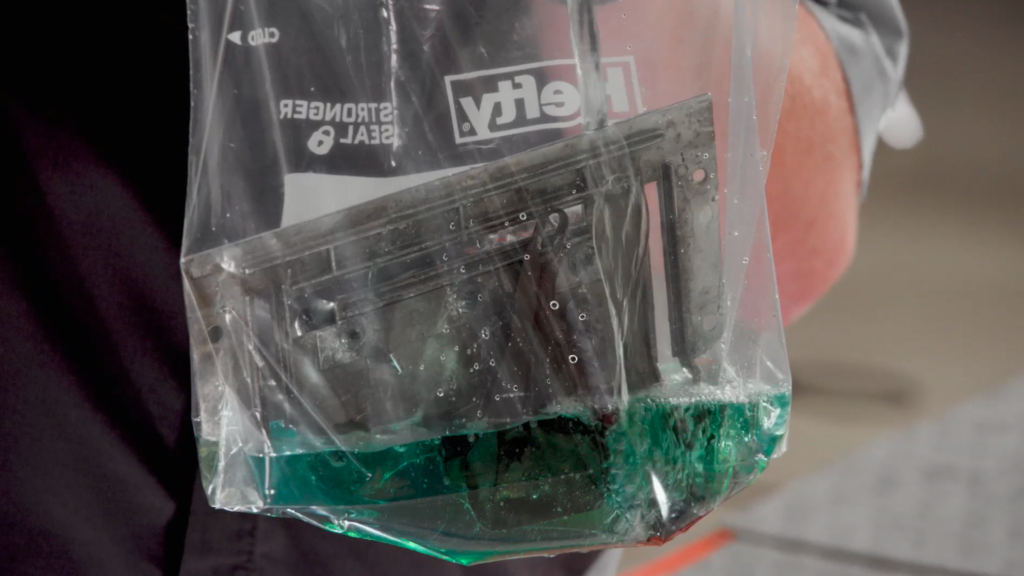
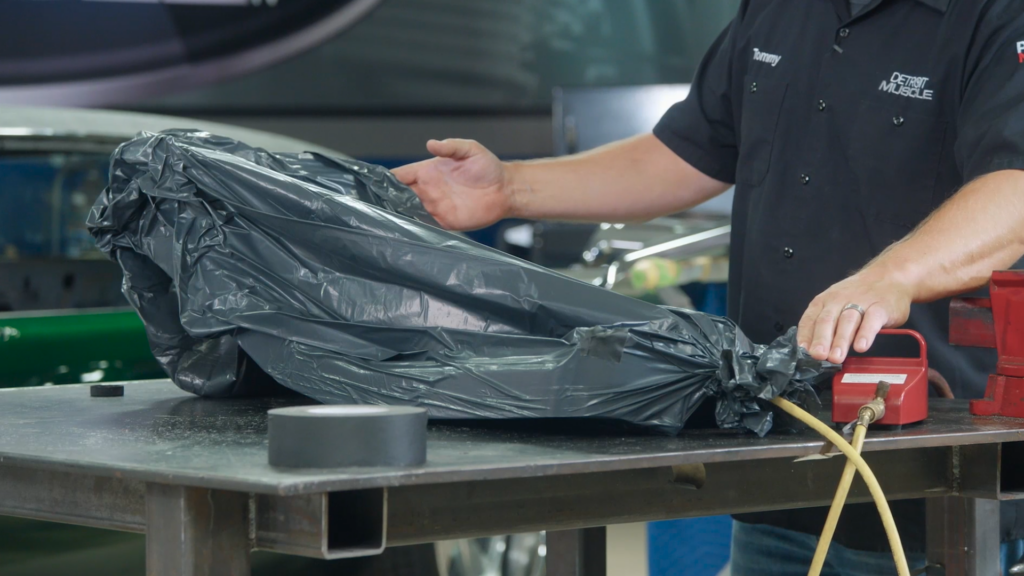
But this is what you are going to want to do for those larger metal parts. For something as big as our grille, you won’t need gallons upon gallons of this solution to get the job done. We used a large, heavy-mill trash bag, our anti-corrosion solution, and a vacuum. For larger parts with pointy edges, we recommend using a heavy mill trash bag because they tend to be more resistant to punctures.
Using a vacuum-sealed bag makes the process a lot easier than using a giant tub and filling it with gallons of anti-rust solution. While you can certainly do the latter, you will find yourself buying several jugs just to remove the rust from one part. Using the vacuum-sealing method, we only needed one jug.
The Vacuum-Sealing Method
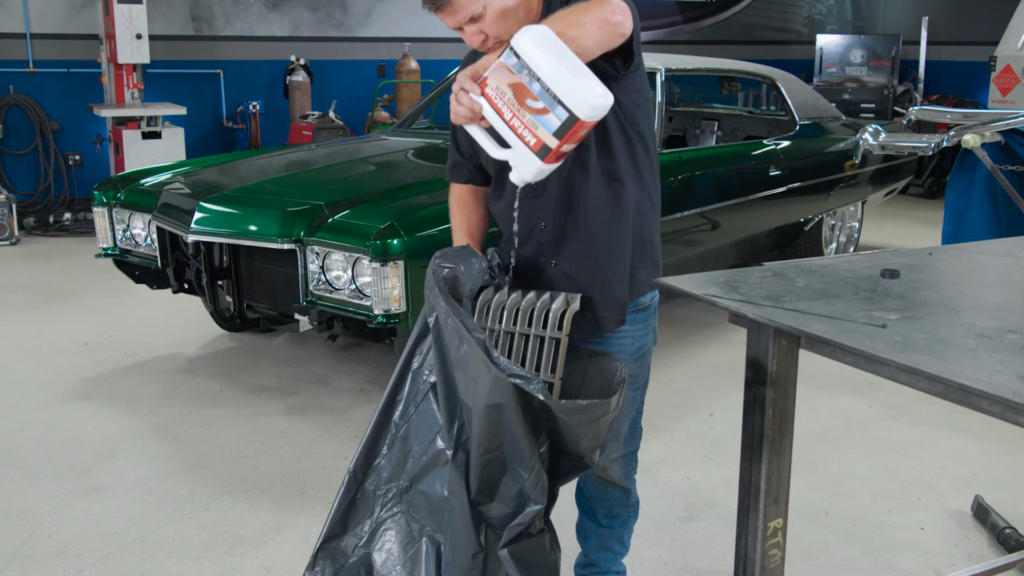
First, we placed the grill inside the trash bag and poured the entire jug of our solution inside. Next, we tied off the bag like we normally would with any other trash bag, but with a small opening for our vacuum hose to fit inside. We then used the vacuum to suck out all the air inside the bag, collapsing it. Hence the phrase “vacuum sealed.”
The point of this method is to ensure that the solution inside the bag will be able to come into contact with every inch of metal on your part, submerging it in the liquid. Leaving some sections exposed to the air means that only parts of the metal will receive the benefits of the rust-removing solution, leaving the rest of it untreated. Once that part’s done, simply take some zip-ties and seal the bag up nice and tight.
Get Complete Coverage
From there, we would shake the bag and rotate it every few hours to make sure that the solution made contact with all parts of the grille. Then let it sit overnight. This will allow the anti-corrosion solution to work its magic by dissolving the rust by the next day.
In the morning, cut off the zip tie sealing the bag and carefully remove whatever large part you used to see your results. The difference will be like night and day. Just like our grille, the metal will be free of any rust and corrosion and is also much shinier than before.
The Final Steps
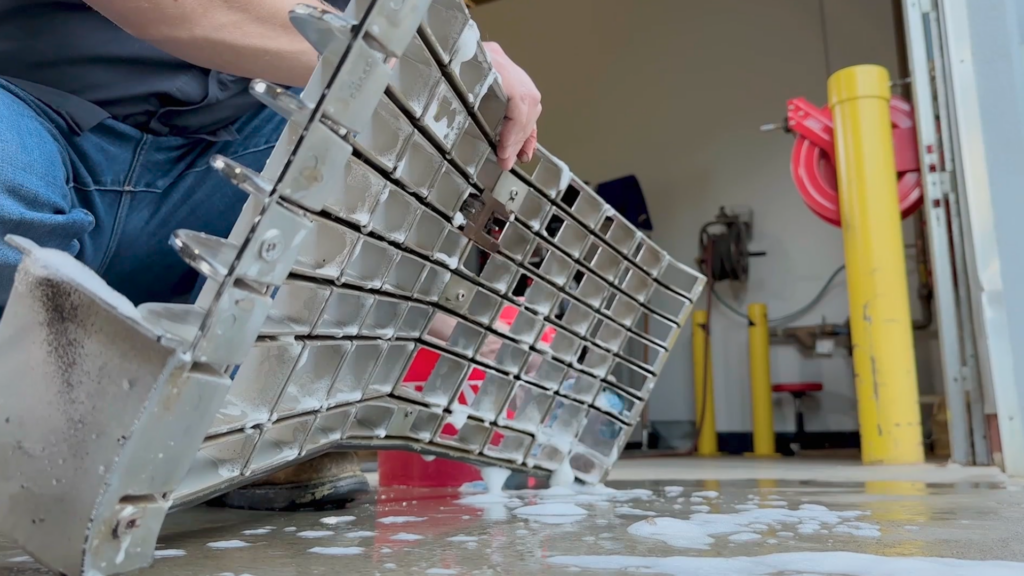
Give your part a gentle rinse with a water hose to wash off any remaining solution. Now grab a bucket of soap and water for a thorough cleaning by hand with a detailing rag to scrub away the last traces of rust. After that, give it one last rise with the hose for good measure.
Now that your metal is clean, shiny, and rust-free, it is ready to be reinstalled onto your project.
Want to read more articles like this?
Join the PowerNation Email NewsletterRead More from PowerNation