How To Correctly Replace The Carpet For Your Classic Car Project
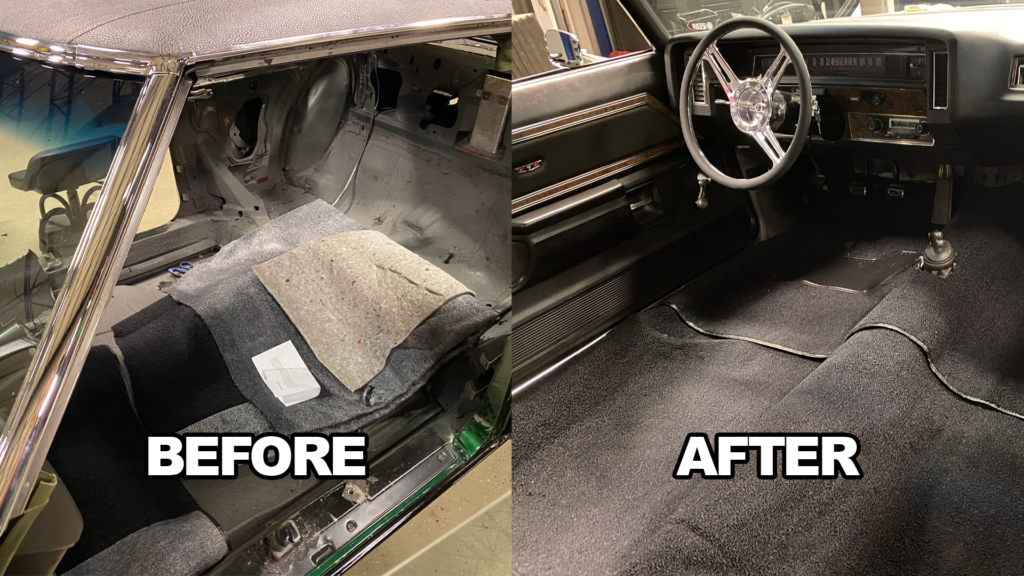
Vintage car owners and enthusiasts enjoy restoring classic cars to their former glory, extending their life and increasing the value of these timeless automobiles. Ask any classic car owner and they will tell you the interior is just as important as the exterior, and one component often replaced during a restoration project is the carpet. With time and use, it becomes worn, discolored, and retains stains and odors. We want to provide you with a detailed guide to replacing the carpet in a vintage or classic car, as we did in our ’71 Caprice Fat Stack project. This car was built for luxury and comfort, so having a clean and functional interior was a priority.
Cleaning and Preparation
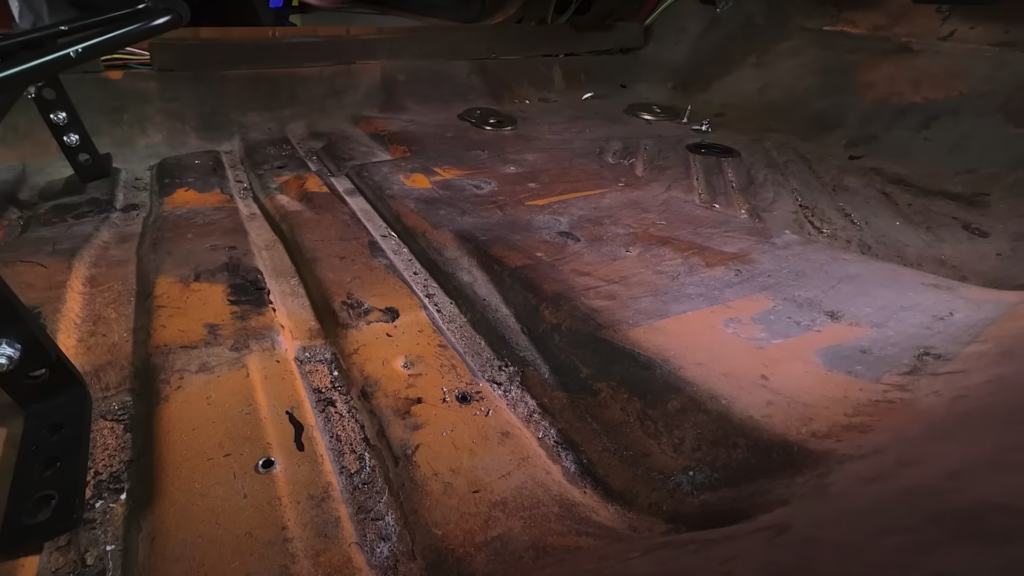
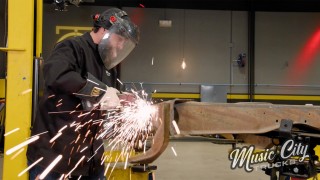
The first step is ensuring that the floorboard is clean and free of debris and rust. Remove the seats, sills, and any other trim component holding the carpet in place, taking note of what you took out and saving and labeling any part. After removing the old carpet thoroughly vacuum and clean the floorboards. With our Road Burner project there wasn’t much of an interior to begin with, since years of the metal being exposed to the elements left a lot of damage throughout the inside. After a thorough cleaning, you can weld in new floorboards if needed, and patch, prime, and paint like you would for other metal surfaces. Once it is free of all the dirt and you have a solid foundation you can start laying down your carpet.
Choosing Your Carpet
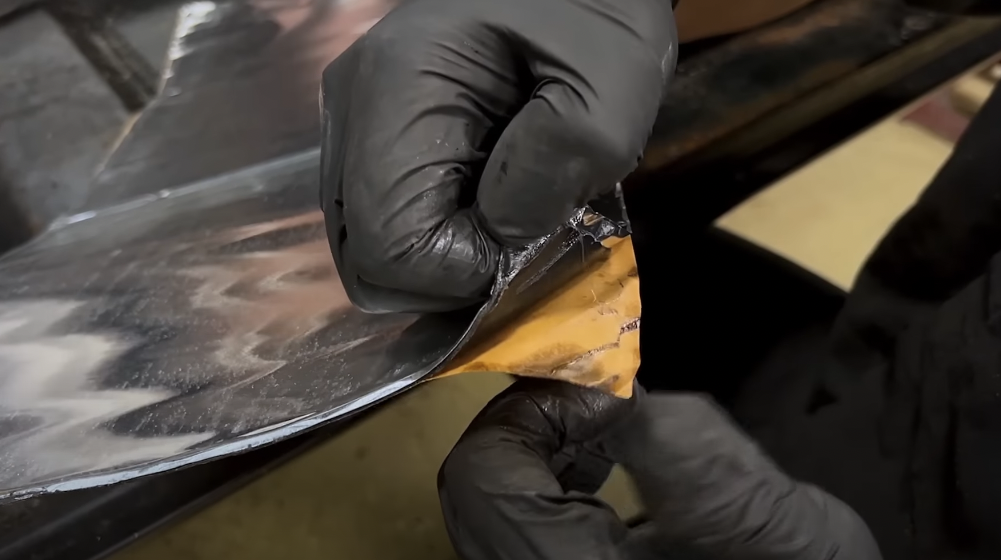
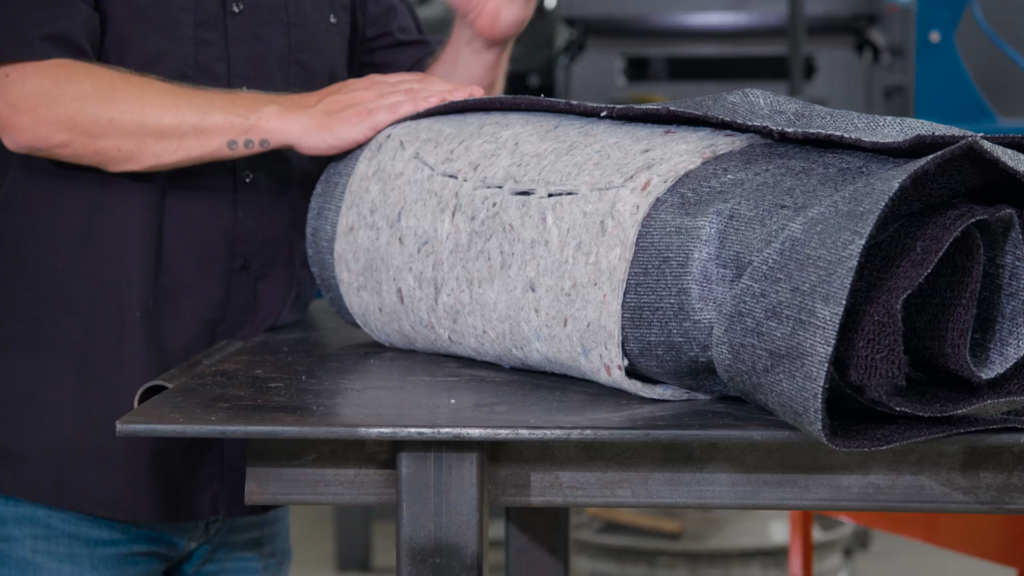
There are two basic types of carpets, the factory replacement kit or a universal one. The factory kits are designed and molded to fit precisely into the contours of a specific vehicle model, making the installation seamless. However, since we added a bigger transmission tunnel to our Fat Stack project, we chose a universal kit. This carpet came without mask backing, a dark gray material added to the carpet that reduces temperature and vibrations. Our carpet did have a padding layer, which we can cut to our specific needs, allowing us to conform it better to the nooks and crannies of our project.
Adding Sound Deadening
Adding a barrier between your metal floorboards and the carpet can help minimize road noise and vibrations, and it also helps insulate them. We used several panels of self-adhesive sound deadening in our Dart project. Dry-fit the panels and then apply them in sections, and make sure you cut it around anchoring points for seat belts and other mounting points. If you choose this step, do it BEFORE fitting your carpet.
Fitting the Carpet
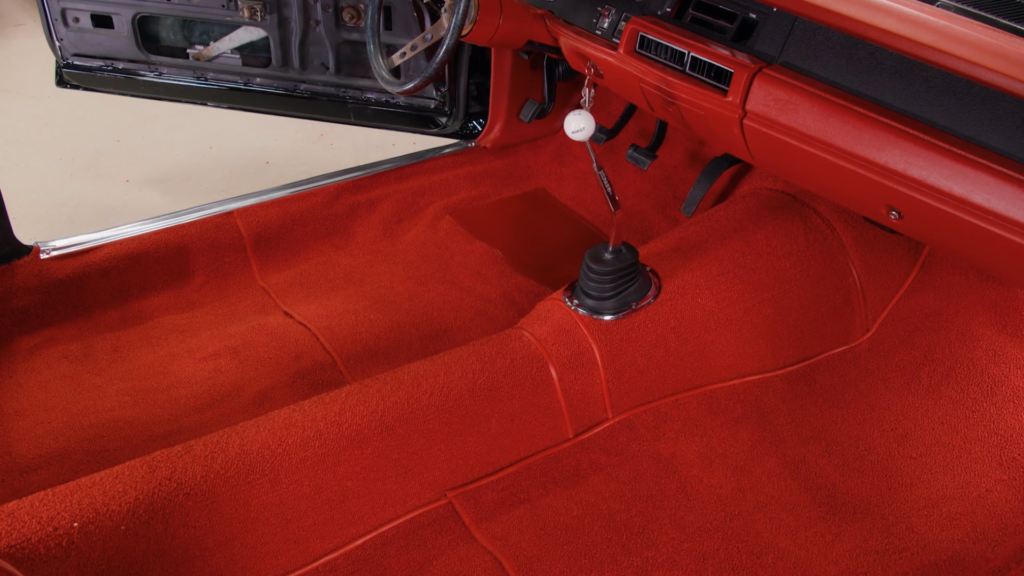
Before installing the carpet, examine your car and figure out where your ‘corners’ or location points are. These are essentially key points of the interior in which it will fit, like the corner of the floorboards. Once you find your corners, place the carpet over these points first, ensuring it falls into place evenly across the vehicle. Then, cut out the sections of the padding that don’t fit or are raised higher, while being careful not to cut the carpet itself.
Cutting the Padding Layer
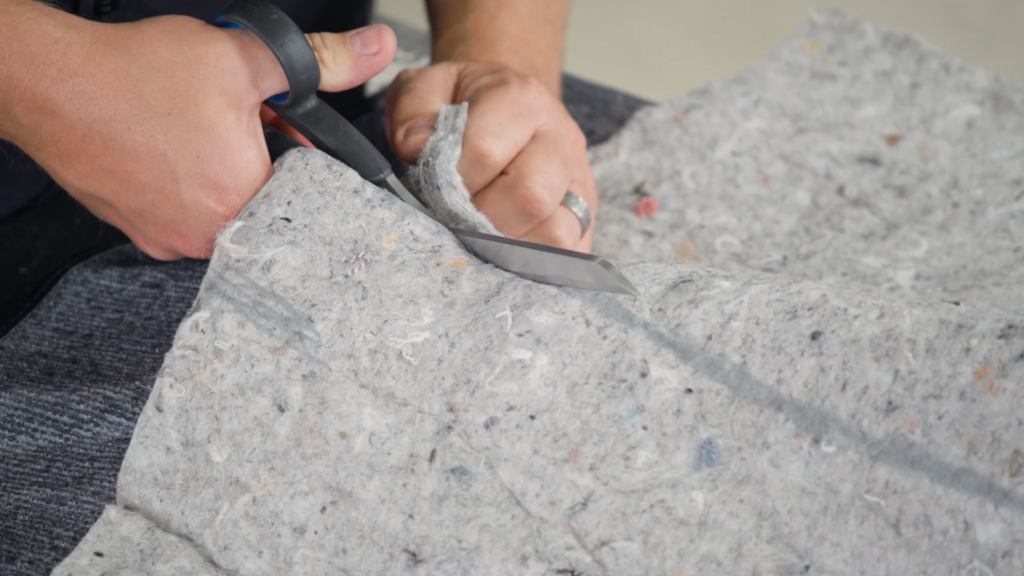
When you start trimming, it is recommended that you use either a strong pair of scissors or a box cutter blade. For our ’71 Fat Stack Caprice, we started by only cutting through the carpet padding layer, not the carpet itself. By cutting the padding layer as a single large piece, we can come back and add it back to our project later instead of tearing it out in smaller chunks. Always cut a little at a time. Once that is done, it is time to check the fitting inside your car. Make sure you mark down the holes for the seat belts, the seats themselves, and any other trim anchoring points. If everything falls into place, it’s time to move on to the next step.
Using a Heat Gun
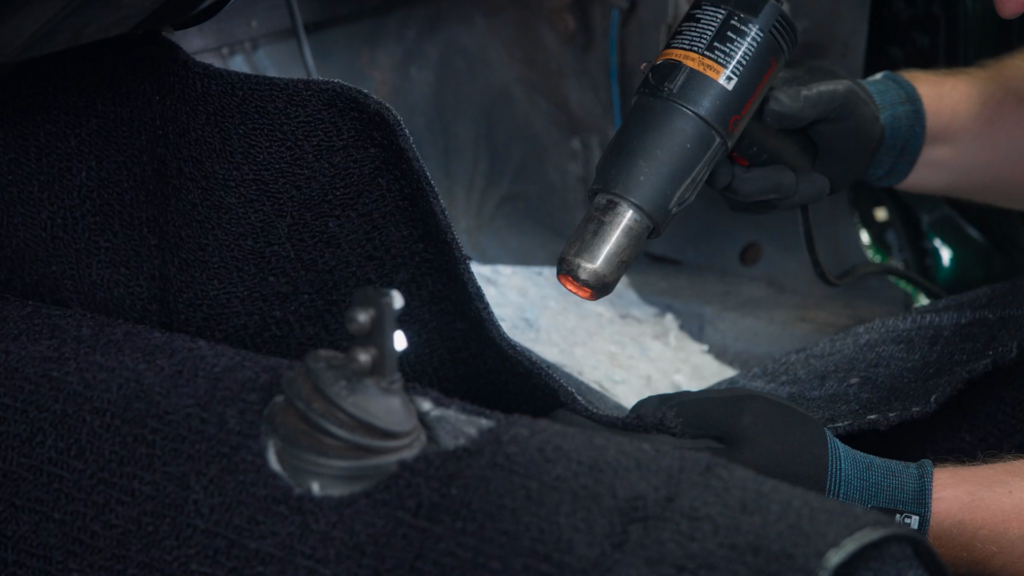
If there are sections that are too high or protruding, like the transmission tunnel, using a heat gun can help. The heat will melt the carpet backing a bit, enabling it to lay this hill of carpet flat down onto the floor more easily. You will be able to tell that it’s working once the carpet backing starts to look shiny and limber. You will end up repeating this process a few times before you start getting the results you want. Again, be careful to only heat the areas that need adjustment and not damage the carpet. Wearing good gloves will help you lay down the carpet smoothly without risking a burn. Replace all the trim components, seat mounting hardware, consoles, and the like. Finally, tuck in the carpet under the loosened door sills.
Replacing the carpet in a classic car can be done by anyone with moderate mechanical skills, as long as you have the right resources and a bit of patience. It is an easy and highly rewarding job that can instantly add value and style to your car. If you don’t rush these steps, and pay attention to detail, we are confident you can achieve great results.
Want to read more articles like this?
Join the PowerNation Email NewsletterRead More from PowerNation