How To Install A Leveling Kit
Mar 28th, 2019
A common project on off-road rigs is installing bigger wheels and tires. A common issue that comes along with that is the new tires rubbing against the inner fenders. The fix to that is installing a leveling kit. Unlike a lift kit that lifts both the front and rear, a leveling kit simply levels out the front of the truck.
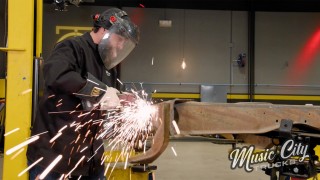
For this we’re using the Tacoma we have in the shop. With the truck sitting on the ground a mark is made on the fender flare at about 40″ so we can see how much height we gain. For this truck, the first step is to remove the upper ball joint off the spindle. The next step is to remove the 3 nuts that hold the spring plate on. Make sure you only loosen these 3 nuts – do not loosen the center nut. With the strut loose, move to the bottom to remove the bolt that holds it to the lower control arm.
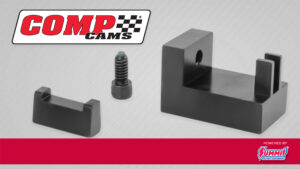
For this job, we got a leveling kit from Summit Racing and it came with everything you need – a couple of lift blocks, some studs, and all the hardware.
To get started on installation, apply some thread locker and thread on the 3 supplied stud extensions. These don’t need to be a specific torque, just get them good and tight. With those installed, the supplied strut spacer slides into place. Then all you have to do is re-install the strut and set the truck back on the ground.
Want to read more articles like this?
Join the PowerNation Email NewsletterRead More from PowerNation