Sierra/Big Blaze/Ferret
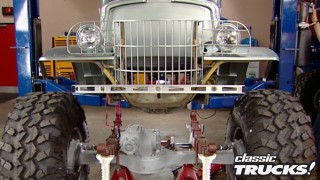
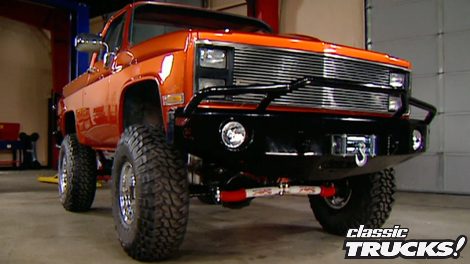
We equip a 99 GMC Sierra with essential outdoor features, including a backroad grill guard and matching nerf bars for improved functionality and durability. In Project Big Blaze, we fit robust Trail Ready bumpers equipped with off-road lights and a powerful winch, transforming its capability and giving it a bold new attitude for more adventurous terrain.
Season 3
Episode 20
Hosts: Stacey David, Mel Fair
First Air Date: July 20, 2018
Duration: 20 minutes 48 seconds