Diesel Upgrade/Rust Panels/Drills
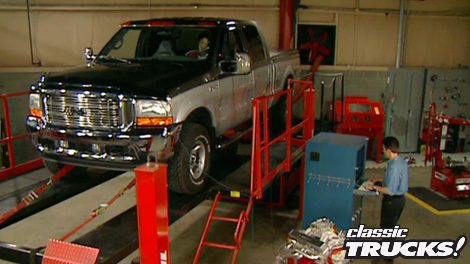
Together, we enhance our Ford F250 by installing a high-performance air intake system and making crucial electrical upgrades. These modifications significantly increase the truck's horsepower, ensuring it remains a powerful companion on the road without dramatically altering its demeanor.
Season 3
Episode 17
Hosts: Stacey David, Mel Fair
First Air Date: July 20, 2018
Duration: 21 minutes 4 seconds