Chevy S10 Gets An LT1 Powerplant
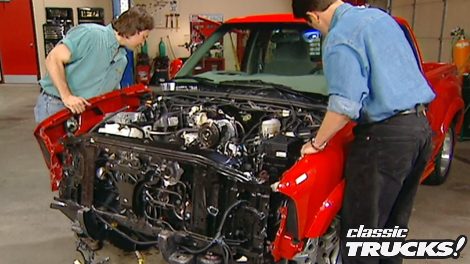
We begin transforming a Chevy Extreme S-10 into a muscle-bound sport truck by swapping its four-cylinder engine for a donor LT1 from a Camaro. We'll detail the engine, install custom motor mounts, and make necessary adjustments for this LT1 swap while ensuring the new setup can handle more power on the street.
Season 1
Episode 6
Hosts: Stacey David, Mel Fair
First Air Date: July 20, 2018
Duration: 20 minutes 38 seconds