Rocker Panels and Tellico Trails
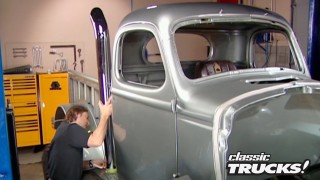
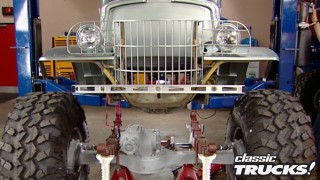
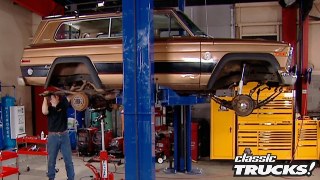
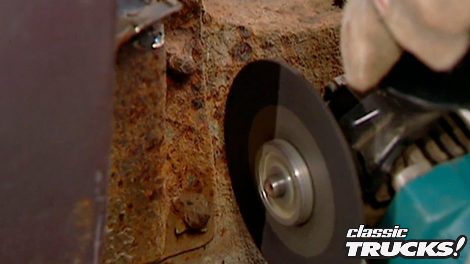
On this episode of Classic Trucks!, hosts Mel Fair and Stacey David cut old rusty rocker panels out of a ’66 Chevy truck, and show you how to save money and a trip to the shop by welding in your own rocker panels and fender extensions. After that, the guys make a trip to Tellico to take on some downright dangerous and hardcore 4x4 trails. Once back at the shop, they show you how dress up your own SUV with fancy woodgrain inlays.
Season 1
Episode 1
Hosts: Stacey David, Mel Fair
First Air Date: July 20, 2018
Duration: 20 minutes 26 seconds