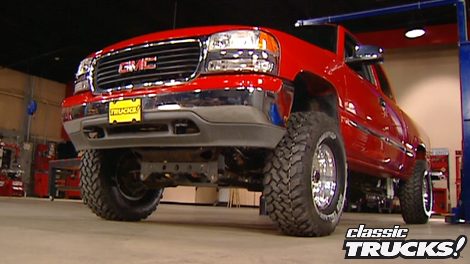
High Sierra - 6" Lift
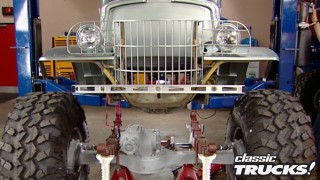
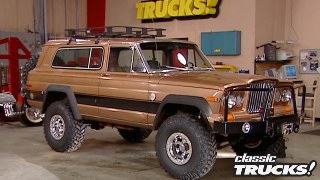
We undertake an ambitious task of lifting the suspension of a 99 GMC, named Project High Sierra, by six inches, to enhance its utility for the outdoor enthusiast. With a focus on making this truck trail-ready, we swap out the stock parts for improved components including new shocks and track bars, culminating the front-end modifications with dual shock options, preparing High Sierra for any adventure.
Season 4
Episode 5
Hosts: Stacey David, Mel Fair
First Air Date: July 20, 2018
Duration: 22 minutes 13 seconds