F-150/Evan Evans/Drive Shaft
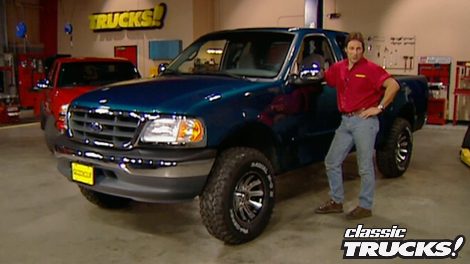
We take a brand new two-wheel drive Ford F-series and transform it into a prerunner by installing a 3.5 inch lift kit from FabTech, new wheels and tires, and a desert guard bumper.
Season 3
Episode 1
Hosts: Stacey David, Mel Fair
First Air Date: July 20, 2018
Duration: 21 minutes 23 seconds